Custom printed envelopes are a simple yet effective way to make your mail stand out. Whether you’re running a business or sending invitations for a special event, a well-designed envelope can leave a lasting impression.
It reflects your style and adds a personal touch to your communication. In this article, we’ll explore five practical tips to help you make beautiful and professional-looking custom printed envelopes, even if you’re doing it from home or a small office setup.
Choose the Right Envelope Size and Material
Before you start designing, it’s important to choose the correct envelope size and material. Envelopes come in different shapes and sizes, such as standard business envelopes, square envelopes, and invitation envelopes.
Picking the right size for your custom printed envelopes ensures your contents fit properly and looks neat. Also, pay attention to the material. Heavier or textured paper feels more premium and holds ink better during printing.
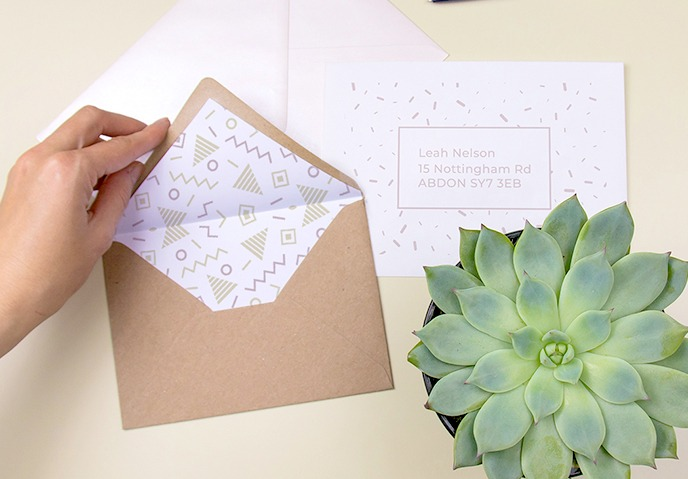
Use Simple but Eye-Catching Designs
A good design is not about being flashy, it’s about being clear and attractive. Keep your design simple by including your logo, company name, and return address in a readable font. You can also use a light background pattern or color to make the envelope more appealing.
Avoid using too many colors or complex graphics, as they can distract from the main message or even confuse the receiver. A clean design always looks more professional and is easier to print without problems.
Make Sure the Layout Matches Printing Guidelines
Many people design beautiful envelopes but forget about printing limits. Printers usually have a “safe area” where text and images should stay to avoid getting cut off. When you’re setting up your layout, make sure you leave enough space on the edges.
If you’re using online design software or templates, check that your file meets standard print settings like DPI (dots per inch), which should be at least 300 for clear results. This helps avoid issues such as blurry logos or misaligned addresses.
Test with One or Two Prints Before Bulk Printing
It’s always a good idea to test your design by printing one or two envelopes first. This allows you to see how your final product will look and fix any mistakes before printing in large numbers. You can check if the colors look right, the text is readable, and the layout is well aligned. Making small changes at this stage can save you time and money later.
Print Smartly Using HP MFP Printers
For reliable results at home or in the office, HP MFP printers can be a great choice. These multifunction printers handle both color and black-and-white prints with high clarity. They also support different types of paper, making them ideal for printing envelopes.
With features like wireless connectivity and easy-to-use interfaces, you can print directly from your laptop or even a mobile device. HP MFP printers offer the right mix of quality and convenience, especially when you’re doing custom printing regularly.
Conclusion
Creating custom printed envelopes doesn’t have to be difficult or expensive. With the right materials, a clean design, and attention to print details, you can produce envelopes that look professional and personal at the same time.
Whether you’re preparing a mailing campaign or sending out wedding invites, these practical tips can help you get the job done smoothly. And by using a reliable printer like an HP MFP, you ensure that your envelopes always look their best.